DIY Fishing Lures: Step-by-Step Guide for Beginners
Table of Contents
Ever had a trophy-worthy fish ignore your expensive store-bought lure, only to strike a rusty old hook wrapped in duct tape? It’s happened to the best of us. But here’s a secret: Fish don’t care about price tags—they care about action, color, and a little bit of mischief. That’s where DIY fishing lures come in. Imagine the thrill of catching a feisty bass on a lure you crafted with your own hands, using materials from your junk drawer. It’s like serving homemade cookies at a bake-off and winning first prize!
DIY lure-making isn’t just a hobby; it’s a superpower for anglers. Whether you’re a beginner or a seasoned pro, creating custom lures lets you experiment with shapes, colors, and movements that drive fish wild. Plus, it’s cheaper than buying a $15 crankbait that ends up snagged on a log. Compared to the meticulous art of fly tying (which requires the patience of a saint), crafting DIY lures is forgiving, fast, and wildly creative. So, grab your glue gun and let’s turn your tackle box into a treasure trove of handmade magic. Trust us—your next big catch is going to love what you’ve cooked up.
What is “DIY Fishing Lures: Step-by-Step Guide for Beginners”?
Let’s break it down: “DIY” means you’re the boss. No fancy tools, no obscure materials—just your creativity and a handful of everyday items. “Step-by-Step Guide” means we’ll hold your hand through the process (no finger-painting disasters here). And “Beginners”? That’s code for “anyone who’s ever held a pair of pliers.”
Why “DIY Fishing Lures”? Because store-bought lures are like takeout pizza—convenient, but nothing beats the satisfaction of making your own. Picture this: You’re at the lake, and your buddy brags about his “limited edition” lure. You casually toss out your handmade spinner, hook a monster pike, and drop the mic. As the saying goes, “A bad day of fishing is still better than a good day at work.” But with DIY lures, every day’s a victory lap. Ready to outsmart Mother Nature? Let’s dive in.
Why You’ll Love Crafting DIY Fishing Lures
- Unleash Your Inner Picasso
Paint, glitter, feathers—your lure, your rules. Design something flashy for bass or subtle for trout. It’s like being a chef, but for fish. - Save Money for the Important Stuff
Why spend 20onalurewhenyoucanmakeonefor20onalurewhenyoucanmakeonefor2? Repurpose bottle caps, paperclips, and old jewelry. Your wallet (and your partner) will thank you. - Out-Fish the Competition
Custom lures let you mimic local prey perfectly. While others rely on generic gear, you’ll have the secret sauce.
Compared to ice fishing (which requires enough layers to survive Antarctica), DIY lures are a sunny-day adventure. Love this? Check out our guide on How to Build a Portable Fishing Tackle Box in 1 Hour. Now, let’s get crafty!
How to Master DIY Fishing Lures
Quick Overview
This is fishing meets arts-and-crafts. In 2–3 hours, you’ll create lures that rival store-bought ones. All you need: basic tools, household items, and a dash of imagination.
Key Gear You’ll Need
- Materials: Bottle caps, paperclips, beads, acrylic paint, small feathers.
- Tools: Pliers, scissors, superglue, clear nail polish (for waterproofing).
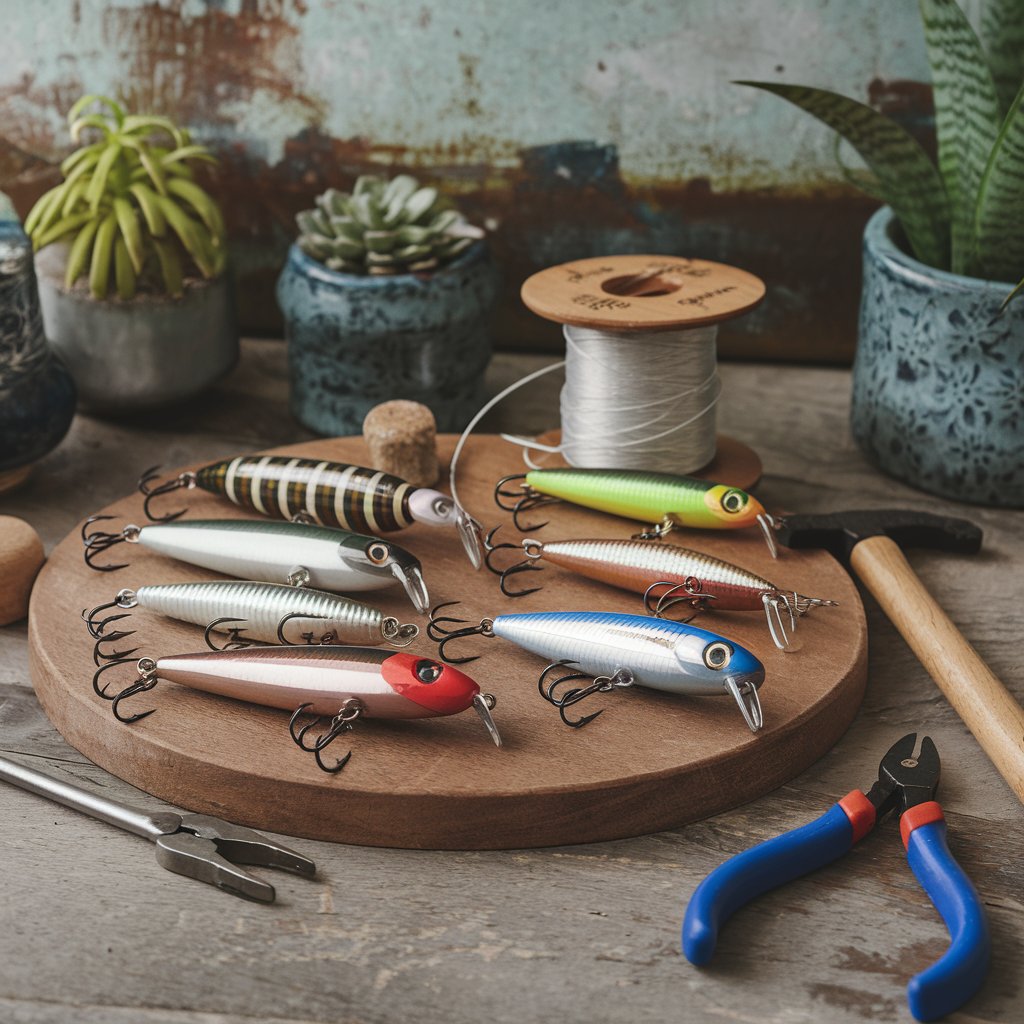
- Extras: Split rings, hooks (sizes 4–6), and a ruler for precision.
[Insert image of materials laid out: bottle caps, beads, pliers, and hooks]
Step-by-Step Instructions
- Start Simple: The Spoon Lure (30 mins)
- Bend a bottle cap into a concave shape using pliers.
- Drill a hole at both ends; attach a split ring and hook.
- Paint metallic silver or chartreuse for flash.
- Featherweight Streamer (45 mins)
- Tie feathers to a paperclip using fishing line.
- Add beads for weight and color.
- Seal with nail polish to lock in details.
- Jighead Masterpiece (1 hour)
- Melt a sinker onto a hook shank.
- Wrap yarn or silicone skirts around the jig.
- Test in water to perfect the action.
What to Pair With DIY Fishing Lures
- A Custom Tackle Box: Store your creations in style (link to tackle box guide).
- Fishing Journal: Track which lures work best in different seasons.
- Kayak Adventure: Test your lures in hidden coves or rivers.
Top Tips for Success
- Test in the Bathtub: Perfect the wiggle before hitting the water.
- Go Bold or Go Home: Use bright colors for murky water.
- Avoid Overcomplicating: Start with 1–2 materials.
Storing and Maintaining Your Gear
Rinse lures in freshwater after use. Dry thoroughly to prevent rust. Store in a tackle box with silica gel packs. Check hooks for sharpness before each trip.
Final Cast
There you have it—a DIY lure-making guide that’s as fun as it is effective. Now go forth, craft those quirky creations, and prepare for the bragging rights of a lifetime. Remember: The fish might bite, but your handmade lures will hook them. Tight lines and happy crafting! 🎨🎣
P.S. Tag us in photos of your DIY lures—we’ll feature the most creative ones on our blog!